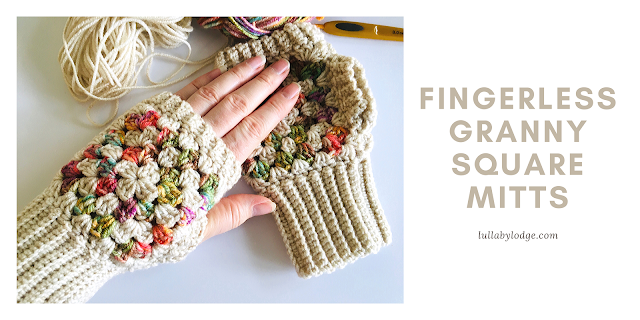
You can find part 1 and part 2 here...
The hat is designed to fit an adult and is quite snug around the brim and slightly slouchie at the top. 4 squares are joined together with ribbing added at the brim and granny stitch shaping at the crown. It works up pretty fast, making it a great quick and easy gift.
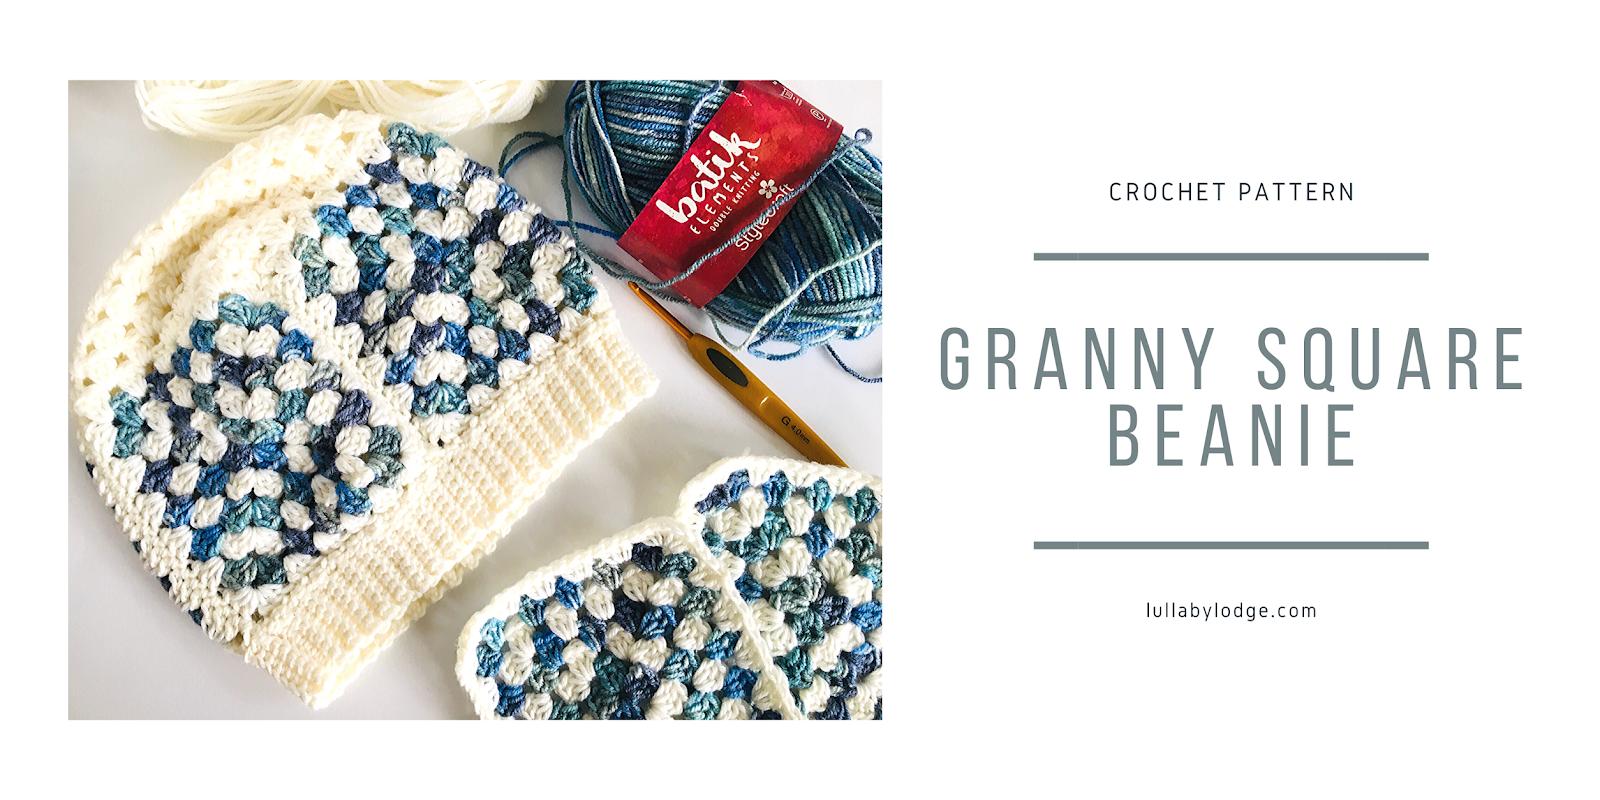
I have used Stylecraft Batik Elements DK in the shade Titanium and matched it with Jarol Heritage DK in Winter White. Although I have used different colours this time, all of the patterns are designed to be a matching set and you can of course use the same colourway for each one.
There is an ad free, pdf version of this pattern available in my online stores, thank you for helping to support my work...


Granny Square Beanie
Materials
Stylecraft Batik Elements DK & Jarol Heratige DK (less than 100g in total)
4mm (G) hook & 3.5mm (E)
Darning needle
Size
Adult
Gauge
Granny square 4 ½ inches (11 ½ cm)
Ability
Intermediate
Abbreviations US Terms (UK conversion)
sc - single crochet (double crochet)
dc – double crochet (treble crochet)
ch – chain
sp - space
st(s) - stitch(es)
sk – skip
bl – back loop
mc – main colour
cc – contrast colour
dec - decrease
Decreasing: A decrease
is worked over 2 sps as follows, dc in the 1st sp, dc2tog over same and next
sp, dc in 2nd sp.
The first round of decreases
is worked where the corners join, all following decreases are worked over the
sps before and after previous decreases.
You are effectively making a granny square in reverse.
Other notes: Alternate
between cc and mc each round and join in new colours with a sl st. If you wish
to make in only 1 colour, sl st to corner sp when starting a new round.
Ch3 at start of round counts as dc (you may
replace with a standing st or chainless dc if you prefer). The larger sized hook is used for granny
squares and crown. The smaller hook is
used for ribbing.
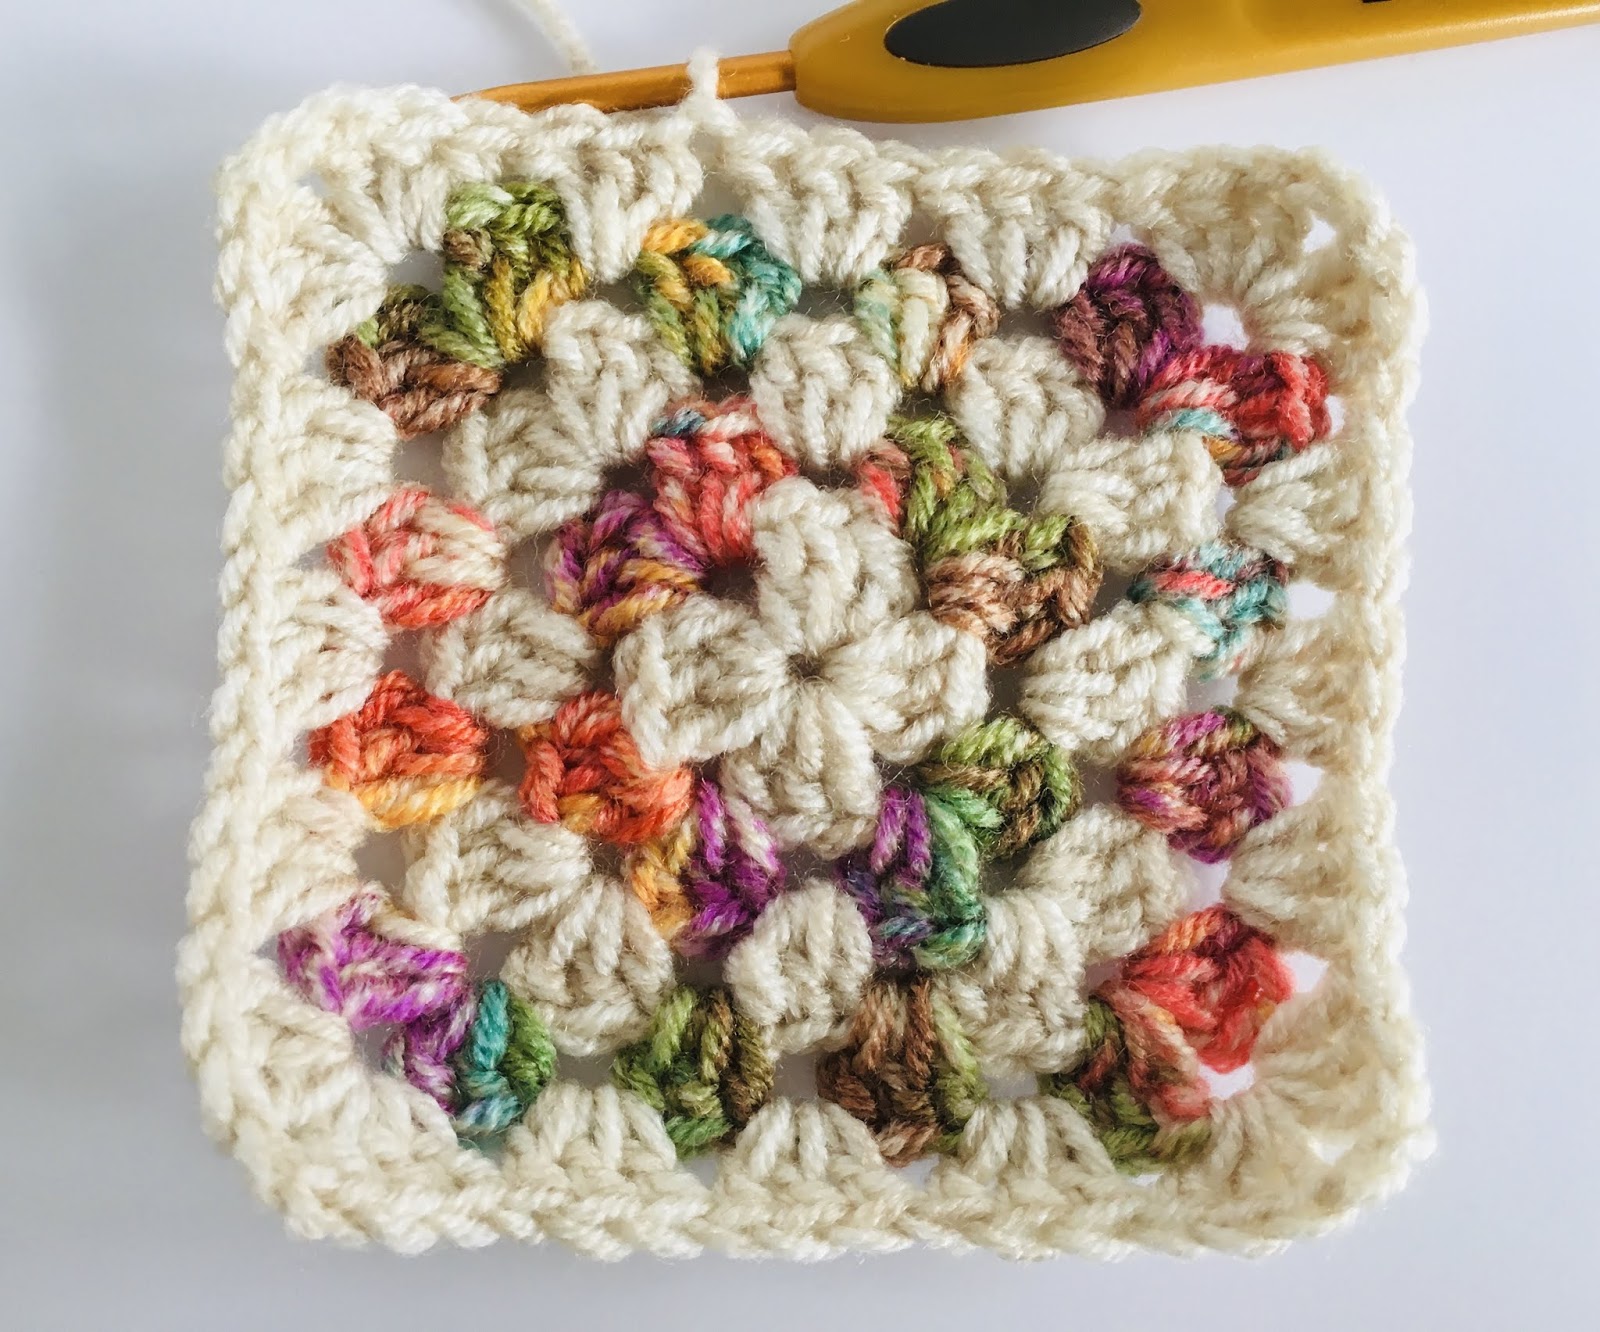
Granny Square (make 4)
With large hook and cc, ch4 and join with sl st to form ring.
Round 1 (Right side), Ch3, 2dc into ring, [ch2, 3dc
into ring] 3 times, ch2, join with sl st to top ch3.

Round 2 Join new colour in corner sp, [ch3, 2dc, ch2, 3dc] in same sp, in next and every sp
[3dc, ch2, 3dc], join with sl st to top ch3.

Round 3 Join new colour in corner sp, ch3, 2dc in
same sp, ch2, 3dc in same sp, 3dc in each sp across sides, [3dc, ch2, 3dc] in each
corner sp, join with sl st to top ch3.

Rounds 4-6 repeat round 3.
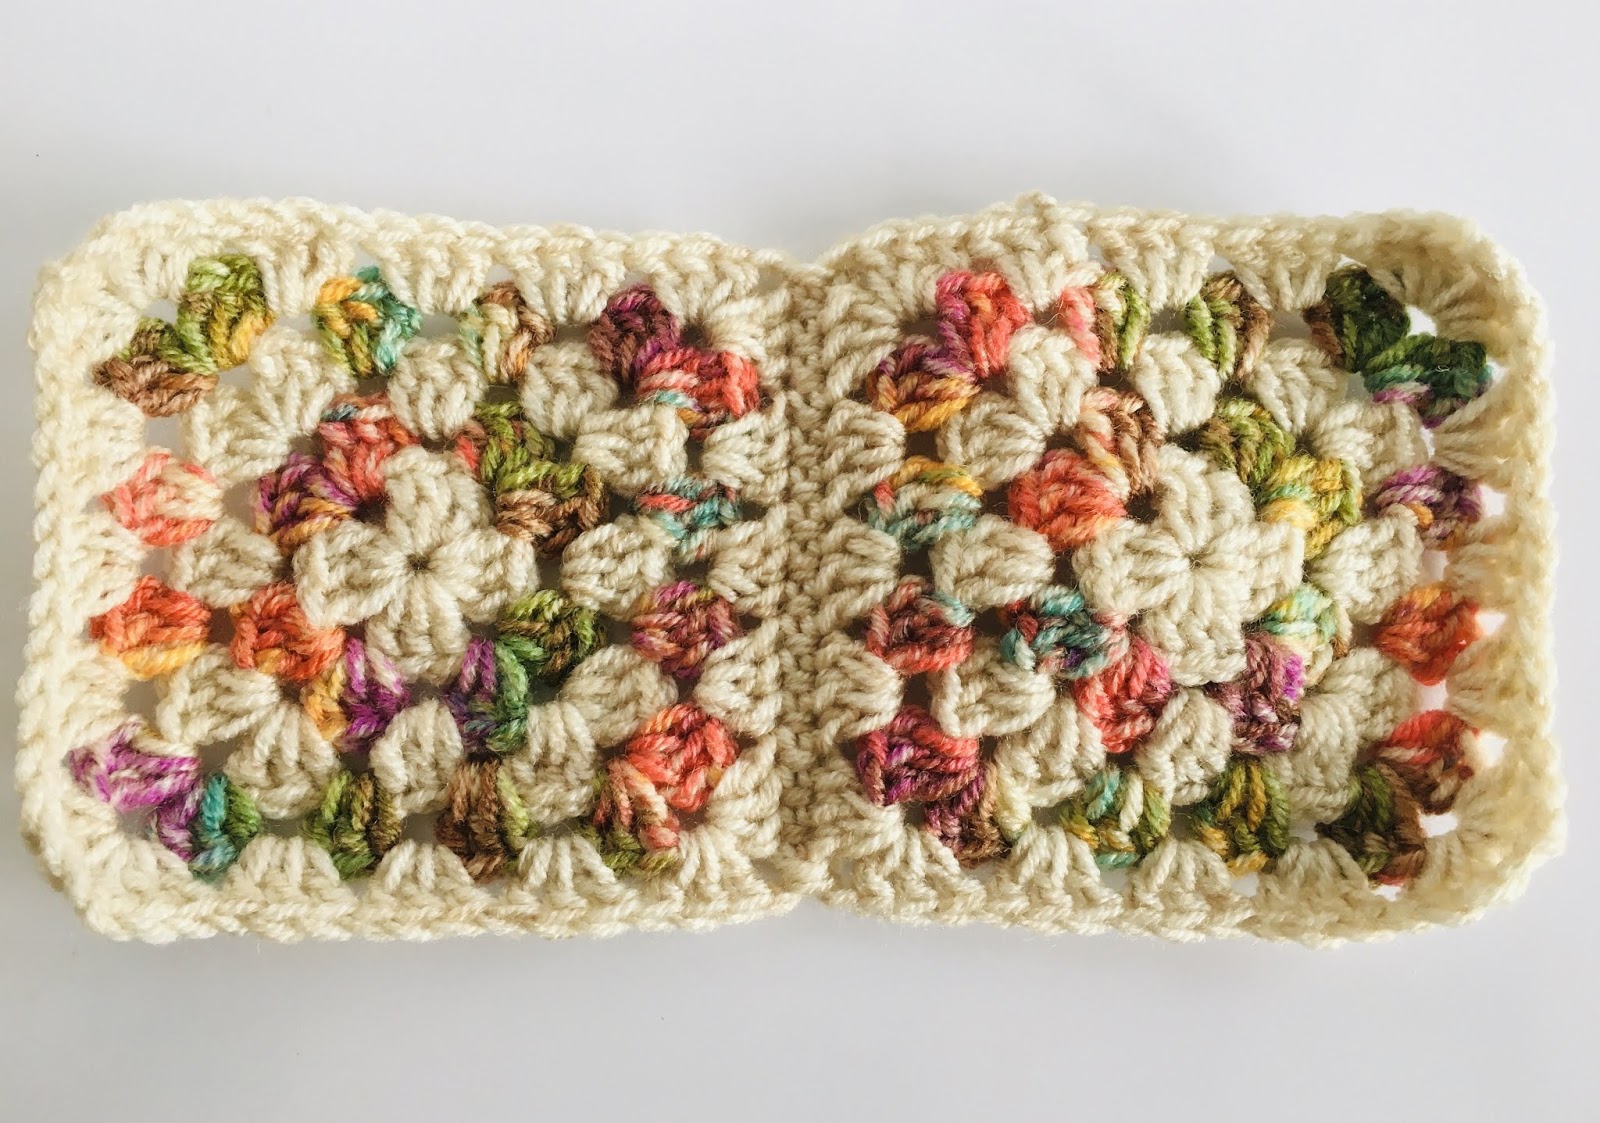
Joining squares
With right sides together sc or sl st 4 squares together to form a
tube.

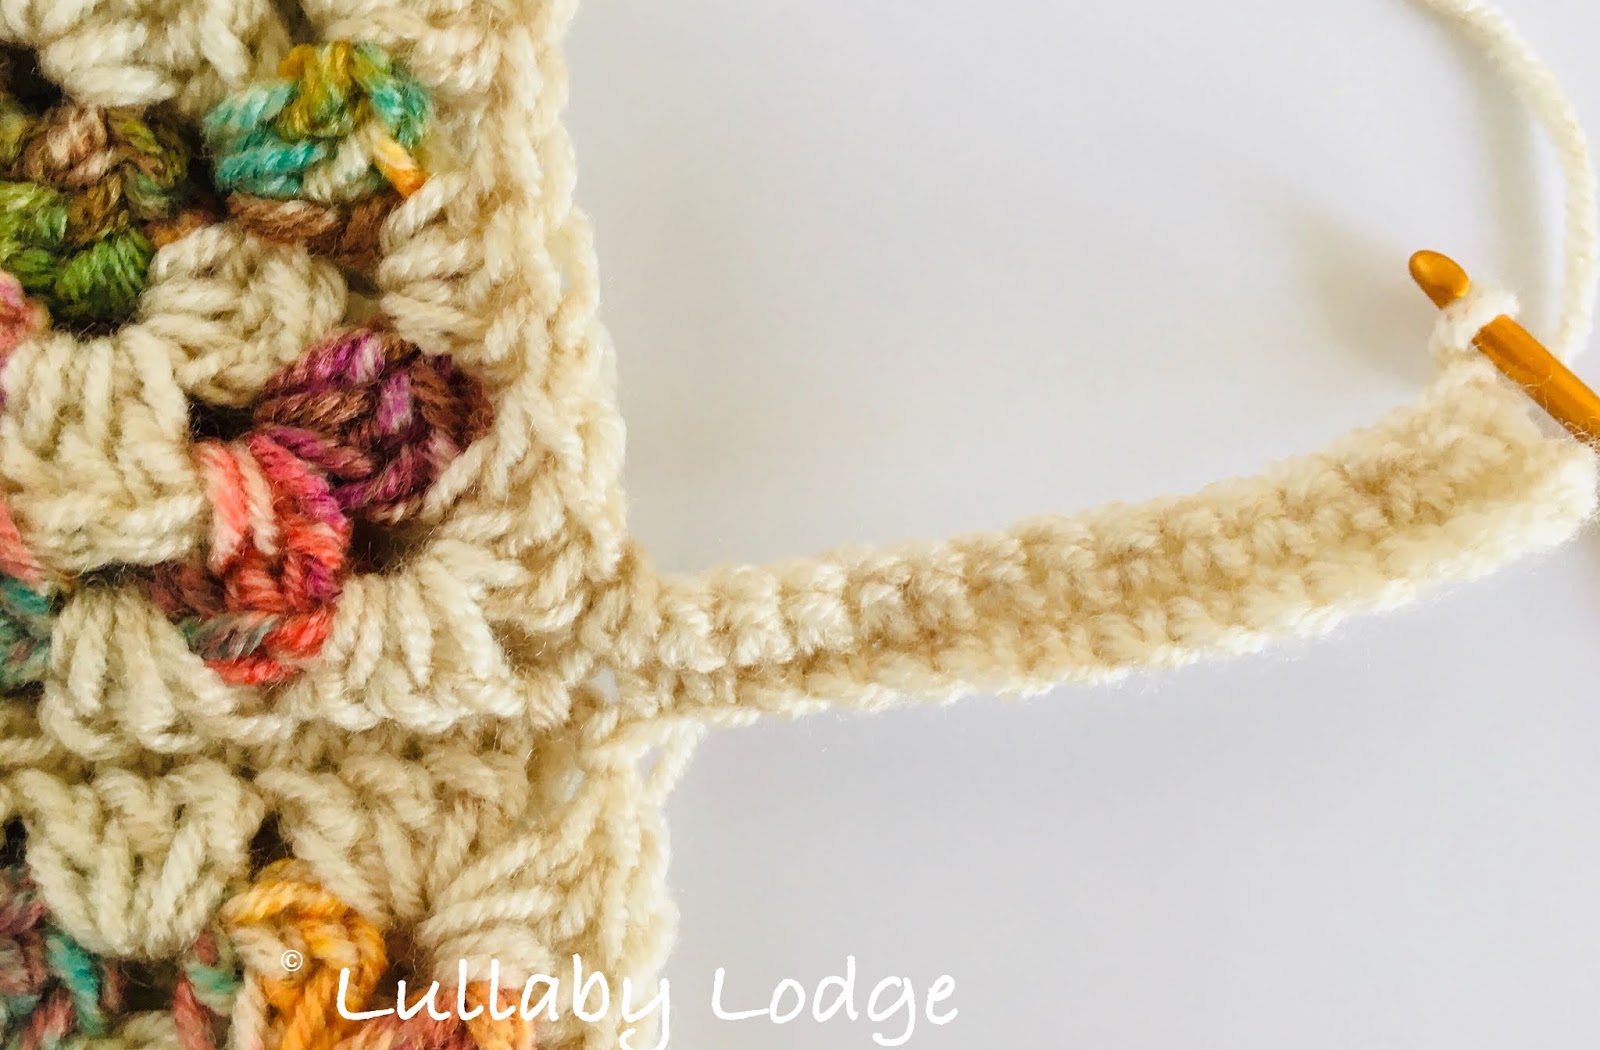
Ribbing
Row
1 With
right side facing, small hook and mc, attach yarn at any seam with a sl st, ch9,
sc in 2nd ch from hook and in each ch, sl st to next 2 sts along bottom of granny
square, turn. (8sc)

Row 2 Sk both sl sts, sc in each st working in bl
only, turn.

Row 3 Ch1, sc in each st working in bl only, sl st
to next 2 sts along bottom of granny square, turn.

Repeat row 2 & 3 until you have worked around the entire hat. Do not fasten off. Turning work inside out, sl st or sc both
edges together to join, fasten off.

Crown Shaping
With mc, right side facing and large hook, join yarn with sl st in
any sp that is not a corner sp where squares are joined.
Round 1 Ch3, 2dc in same sp, 3dc in each sp around working
a dec at each join (over sp before and after the join), join with sl st to top
ch3.
Rounds 2-5 repeat round 1 placing your decreases above
decreases in previous round.

Round
6
Ch3 (counts as 1st dc of dec), work 4 dec
around, join with sl st to top ch3. Leaving a long tail fasten off and thread yarn onto a darning needle. Work through each stitch and pull tight to close top of hat. Fasten off and weave in ends.
around, join with sl st to top ch3. Leaving a long tail fasten off and thread yarn onto a darning needle. Work through each stitch and pull tight to close top of hat. Fasten off and weave in ends.

I do hope you enjoy the pattern and give it a go and make sure to stop by next week for our final pattern in the series.
All the best
Catherine
x
If you love Lullaby Lodge, why not consider becoming a premium subscriber and join my other patrons at Patreon...

You might also like...
This post contains Amazon affiliate links...