Free Pattern - Granny Square Bonnet, Cute Pixie Style Baby Hat


Keep your little ones warm in spring and cool in the summer, with this cute pixie style bonnet crocheted in soft cotton. King Cole Cottonsoft Crush is an incredibly soft 100% cotton yarn, making if perfect for baby's skin and its self-striping design means no pesky colour changes. You can of course, use any cotton DK for this project, or use your favourite wool for a winter bonnet.
The bonnet is made by joining 2 granny squares together and adding a simple edging and ties to the front. US terminology is used throughout.
Granny Square Bonnet
Materials
1 100g ball King Cole Cottonsoft Crush
Darning needle
Hook
4mm (G) hook
Size
0-6 [6-12, 12-24, 24+] months, fits up to 40 [44, 48, 52] cm or 15 3/4 [17 1/4, 18 3/4, 20 1/2] inches
Gauge
Finished square should measure approximately 16 [18, 20, 21] cm or 6 1/4 [7, 7 3/4, 8 1/4] inches
Abbreviations / Terms
US Terms (UK Terms)
sc - single crochet (double crochet)
dc - double crochet (treble crochet)
sc2tog - single crochet 2 together (double crochet 2 together)
sl st - slip stitch
ch - chain
st(s) - stitch(s)
sp(s) - space(s)
Other notes: As all babies are different is it important to take correct measurements. Measure the circumference of your baby's head and choose a size that allows for growth.
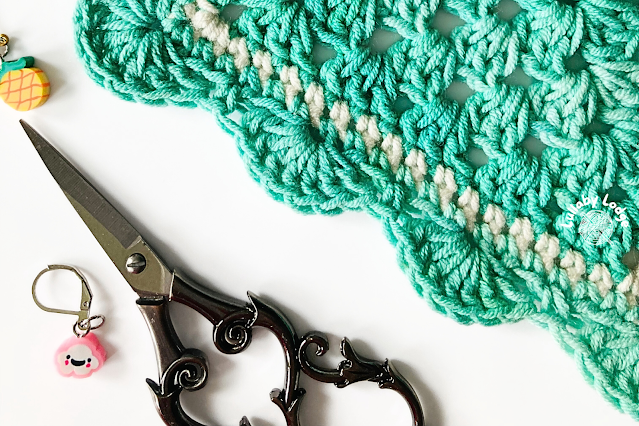
Granny square (make 2)
Foundation round ch 4 and join with sl st to form ring.
Round 1 (right side) ch3, 2dc into ring, ch2, [3dc into ring, ch2] 3 times, join with sl st to top of ch3. Turn.
Round 2 (wrong side) ch3, 2dc into same sp, ch2, 3dc into same sp (corner made), [3dc into next sp, ch2, 3dc into same sp] x3, join with sl st to top of ch3. Turn.
Round 3 ch3, 2dc in same sp, make 3d in each sp and 3dc, ch2, 3dc in each corner sp, join with sl st to top of ch3. Turn.

Rounds 4-7 [8, 9, 10] repeat round 3. Fasten off.
Joining
With wrong sides together and starting at the top right corner proceed to sc your squares together as follows -
Joining with a sl st in corner sp, ch1, sc in same sp making sure to work through both squares simultaneously, sc in next and every st across top of granny square. In the corner 3sc, continue along left side of granny square making sc in each st. Sc in last corner sp, fasten off.

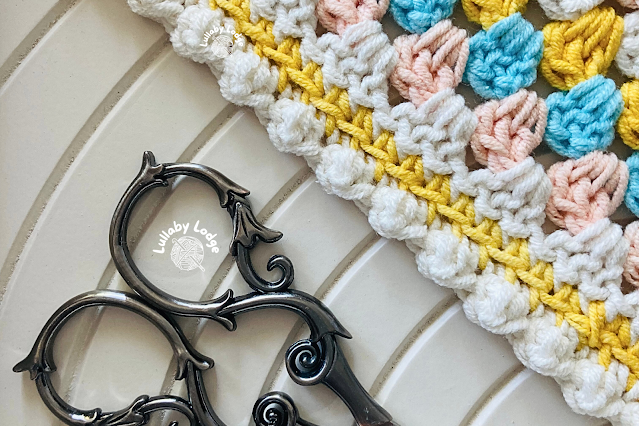
Bobble Edging
Row 1 with right side facing join yarn with a sl st in bottom right corner sp, ch1 sc in same sp. Sc in each st across front of bonnet until the corner sp. Next sc in first corner sp, sc2tog across both sp's, sc in second corner sp. Now continue with sc in each st across ending with sc in last corner sp. Turn.
Row 2 (wrong side) [dc in next st, sl st in next st] repeat across front of bonnet. Fasten off.


Ties
Ch 40 [45, 50, 55] and with bonnet upside-down join with a sc to side of last stitch of edging, sc in corner sp and sc in every st across until next corner sp. Sc in first sp, sc2tog across both sp's, sc in next sp. Sc in next and every st across, sc in last corner sp and in side of last st of edging. Ch 40 [45, 50, 55] fasten off and weave in ends...


...and there you have a super cute granny square bonnet.

If you would like a larger bonnet you can simply add more rounds to your squares...

Enjoy!
Until next time...
Catherine
x
You might like...


Cute bonnet. Thank you for sharing your wonderful tutorial.
ReplyDeleteThank you Ginny, I love working on quick and easy projects...
Delete