How to join your granny squares - Three ways for beginners...
Hello everyone it's Tuesday again and time for another tutorial. This week we will be learning how to join all those granny squares we have been making. I have 3 methods to share with you today and these are aimed at beginner crocheters. We will look at sewing our squares together, crocheting together from the front and crocheting together from the back. I will be covering intermediate methods of joining in a future post, be sure you subscribe so you don't miss it.


Both loops Front loop Back loop


How to Join Your Squares For Beginners
Materials
Granny squares
Darning needle
Yarn
hook (size you used to make your squares)
hook (size you used to make your squares)

Abbreviations / Terms US (UK)
sc - single crochet (double crochet)
sl st - slip stitch
st - stitch
sp - space
Recognising front & back loops

Method #1 Sewing
The first method is to simply sew your squares together using whip stitch. Hold your squares wrong sides together and sewing through the back loops only, sew each stitch together. When piecing squares for a blanket sew your squares together in rows, all rows in one direction first.
If you are like me and don't enjoy sewing, you might prefer to crochet your squares together. Next we will look at two methods of crocheting together using single crochet.
Method #2 Crocheting Together From The Back
With this method we will be working with our squares right sides together. Join your yarn with a sl st in the corner of your first square. You will now sc each st together working through both squares simultaneously. You can either work through the back loops only as in the sewing method (the finished result will look very similar), or you can work through both loops for a stronger join. Your first stitch will be in the corner sp, then in each st working st by st.
As before join your squares in one direction first, then the other...
Method #3 Crocheting Together From The Front
Starting with your squares wrong sides together, join yarn with a sl st to the corner of your first square. Commence and continue in exactly the same way as method #2 and working a sc through each stitch (both loops), both sides simultaneously. This method gives a lovely textural ridge across your work.

Related posts...

This post contains Amazon affiliate links...
Again join your squares in rows first horizontally, then vertically.
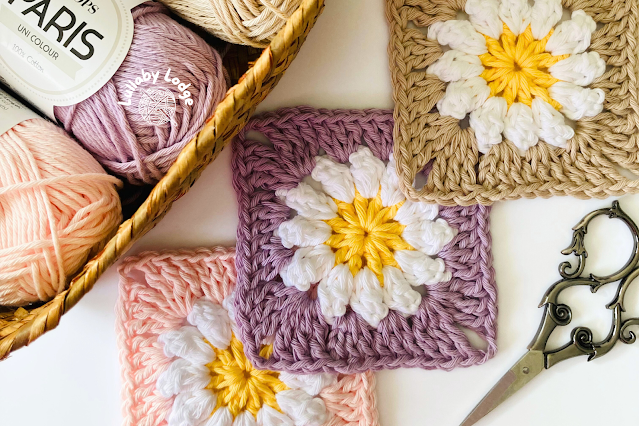
I hope you found this post helpful and if you would like to see more tutorials like this don't forget to follow and subscribe (in the sidebar). If you would like the tutorial for the Ditsy Daisy Granny Square, you can find it here.

I will be back again soon with more crochet and crafty loveliness,
by for now.
Catherine
x

This post contains Amazon affiliate links...


So useful to see these three different ways of joining granny squares and the different looks each one gives.
ReplyDeleteThanks Sandra. I am eagerly waiting to see what your daisy squares will turn into...
DeleteThank you for this post. Very useful!
ReplyDeleteYou're welcome, thanks for stopping by...
Delete