
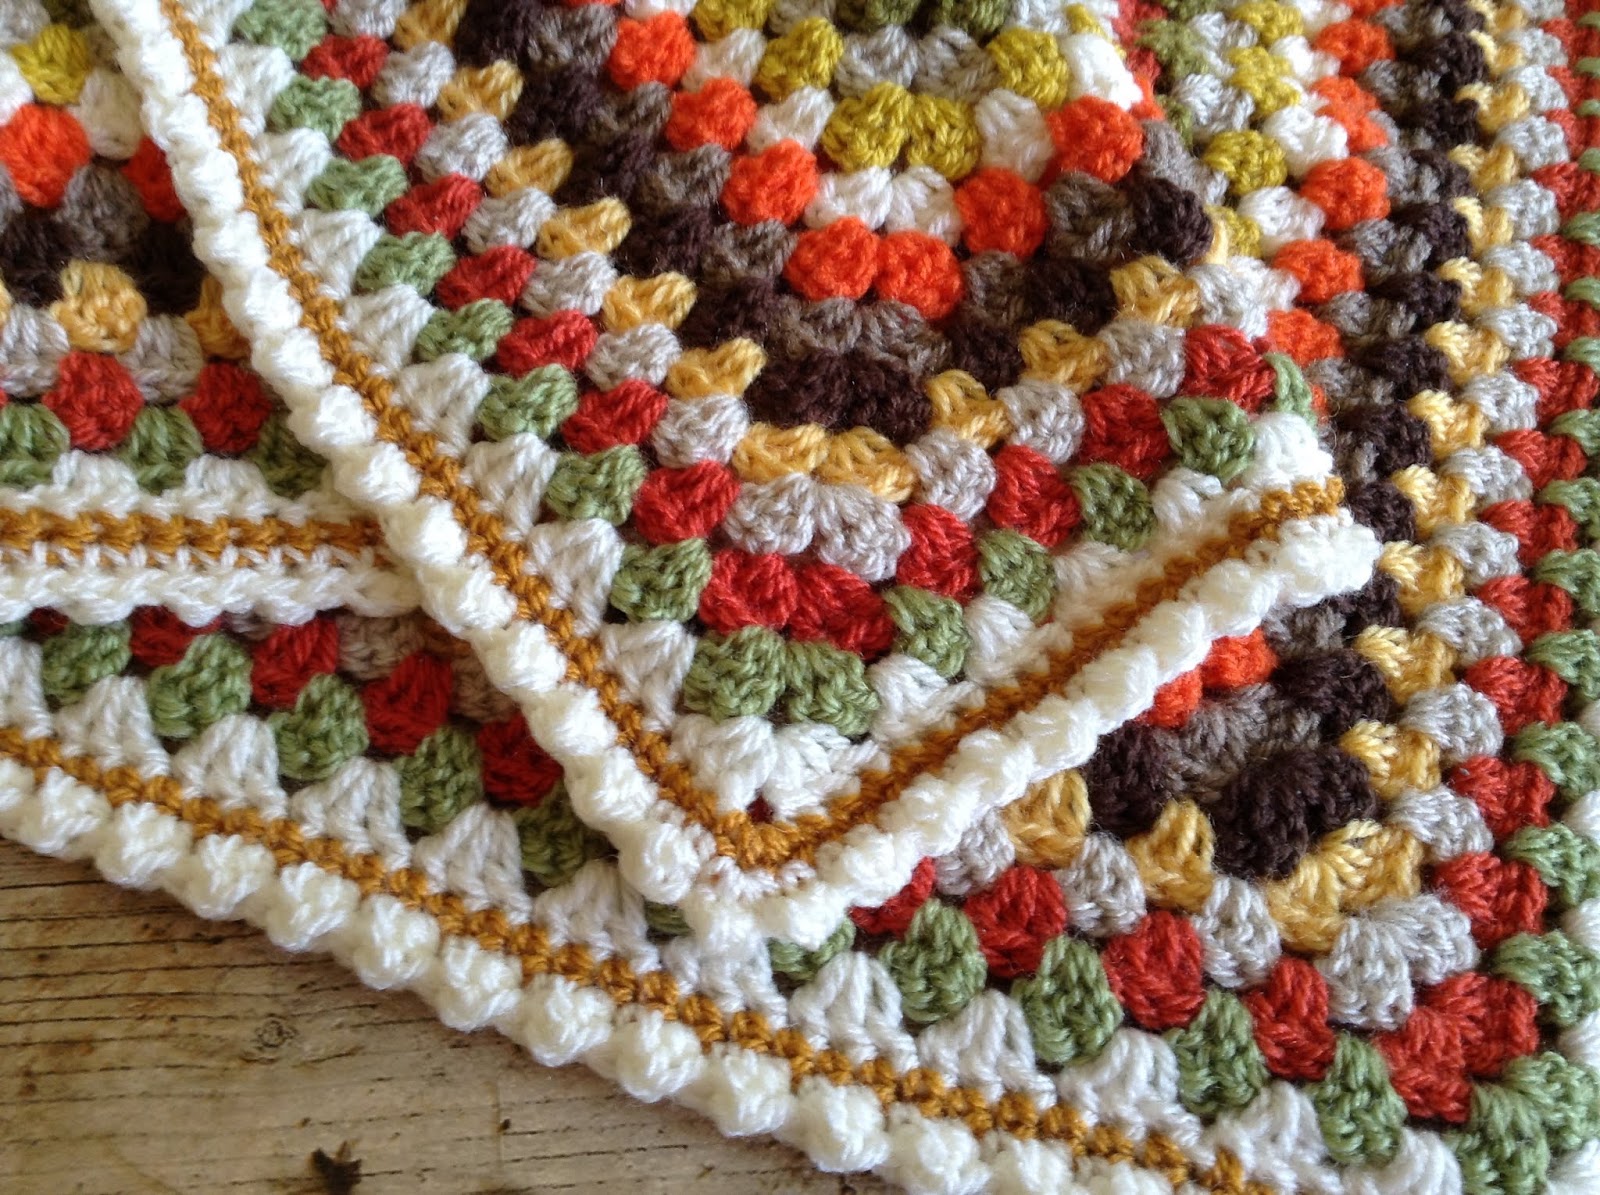
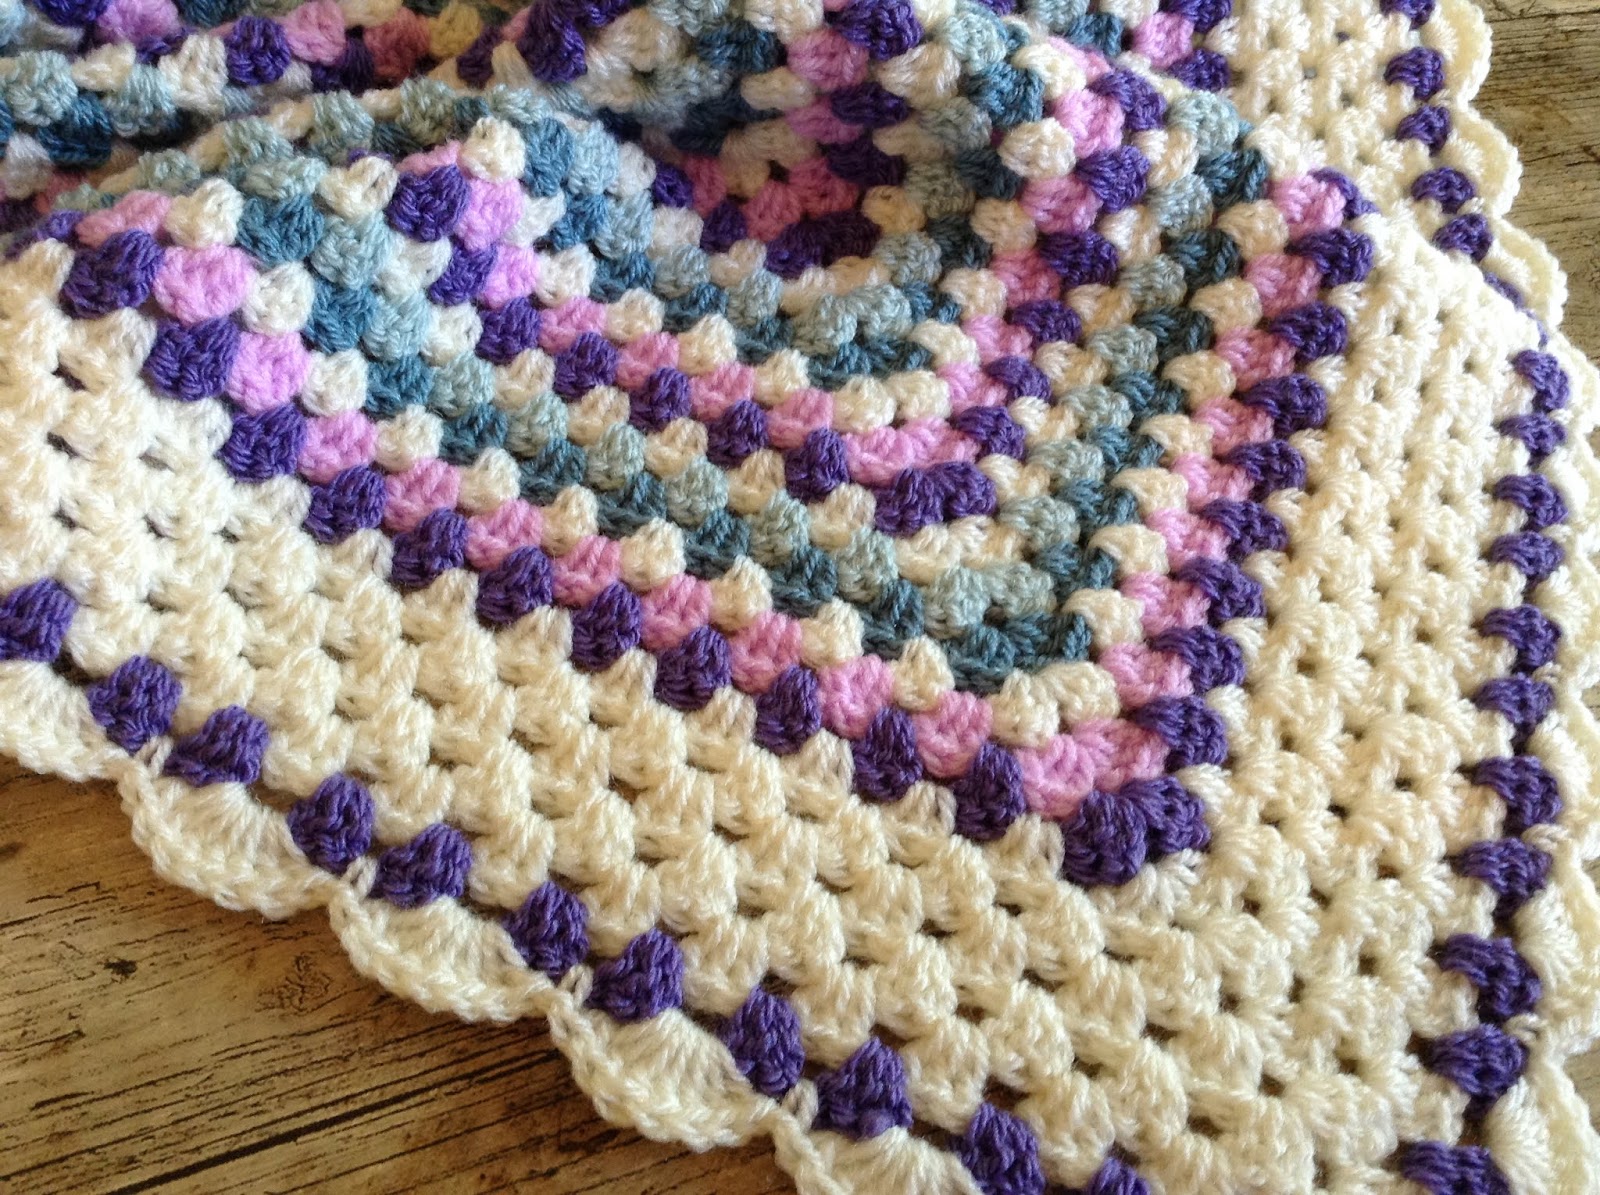
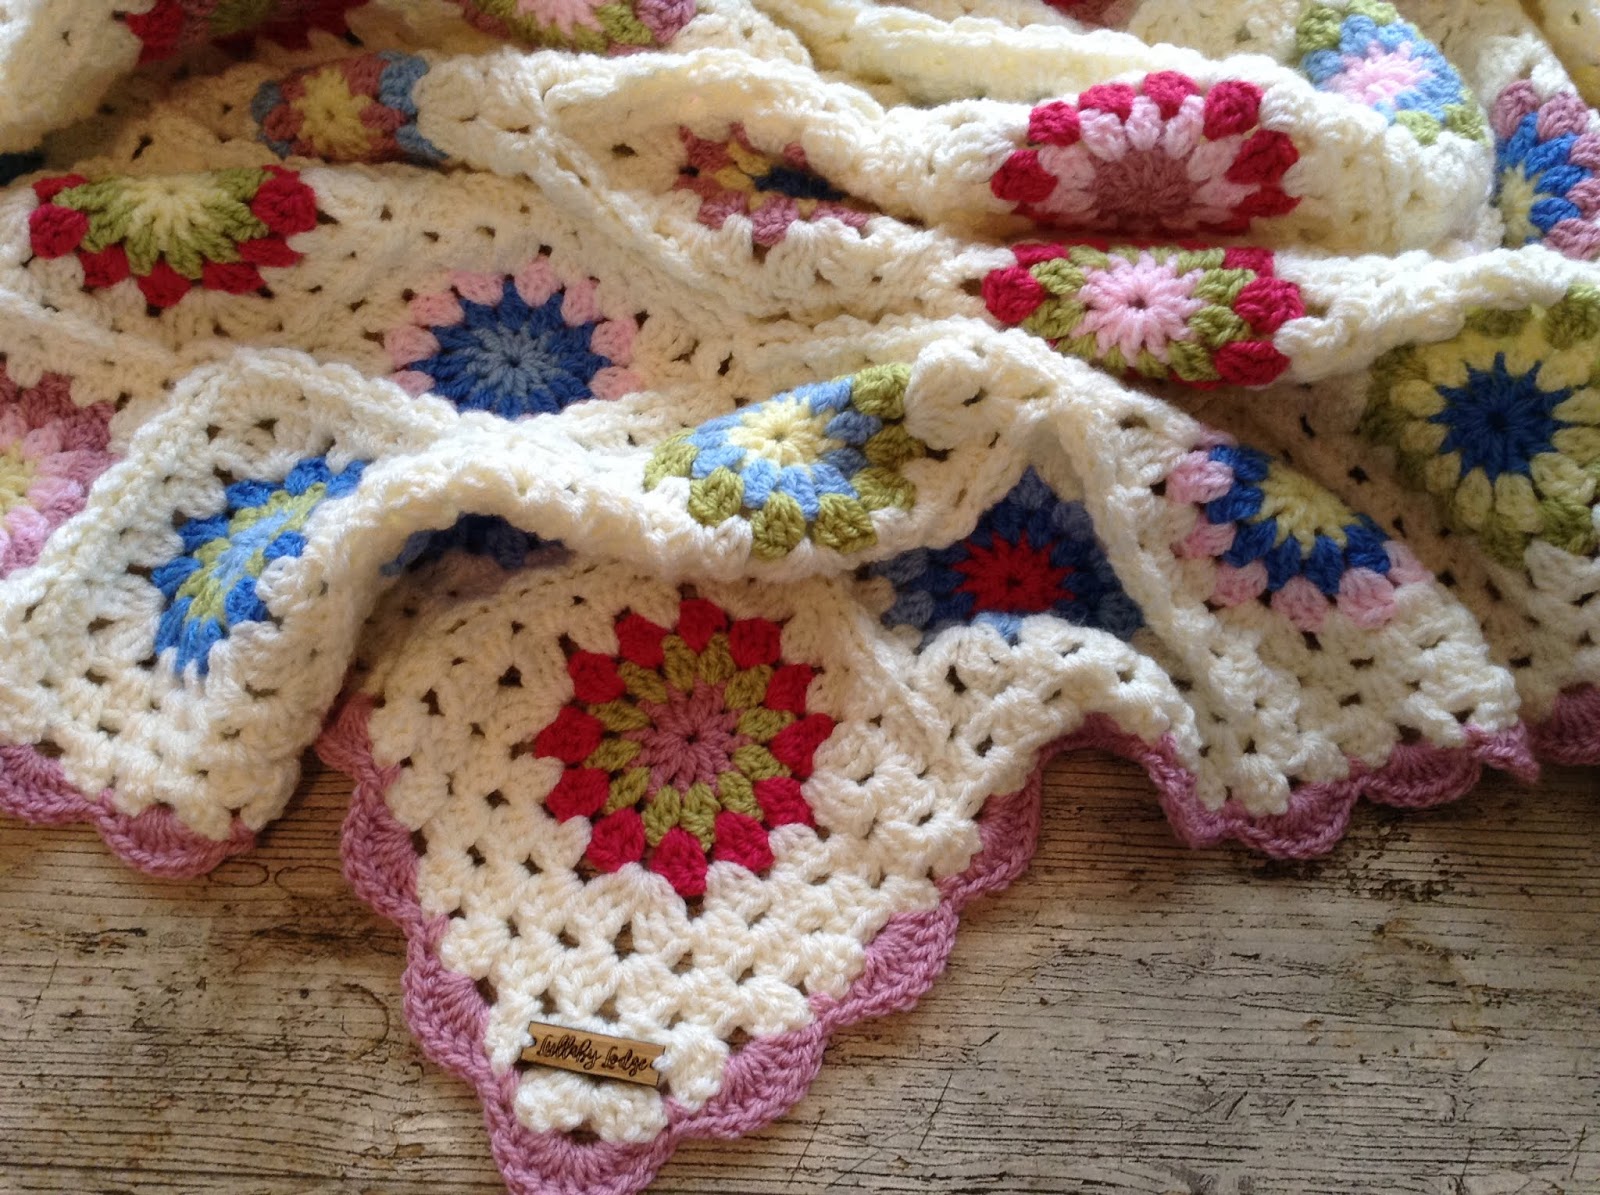
If you are looking for an edging that is both perfectly pretty and super simple, then this is the one for you. It's great for those blankets that you want something a little less girly around the edge. This is one of my favourite go to borders and is so, so simple, making it perfect for beginners.
Abbreviations
US Terms
dc - double crochet
sc - single crochet
sl st - slip stitch
This border requires an even number of stitches around your blanket. If you have an odd number, simple increase or decrease 1 stitch on the first round. Or if you are like me just fudge it (it's only 1 stitch).
Attach your yarn anywhere on you blanket with a sc

Work sc's into every stitch along each side and 3 sc into each corner stitch
continue in this way around your blanket and join with a sl st to the first sc
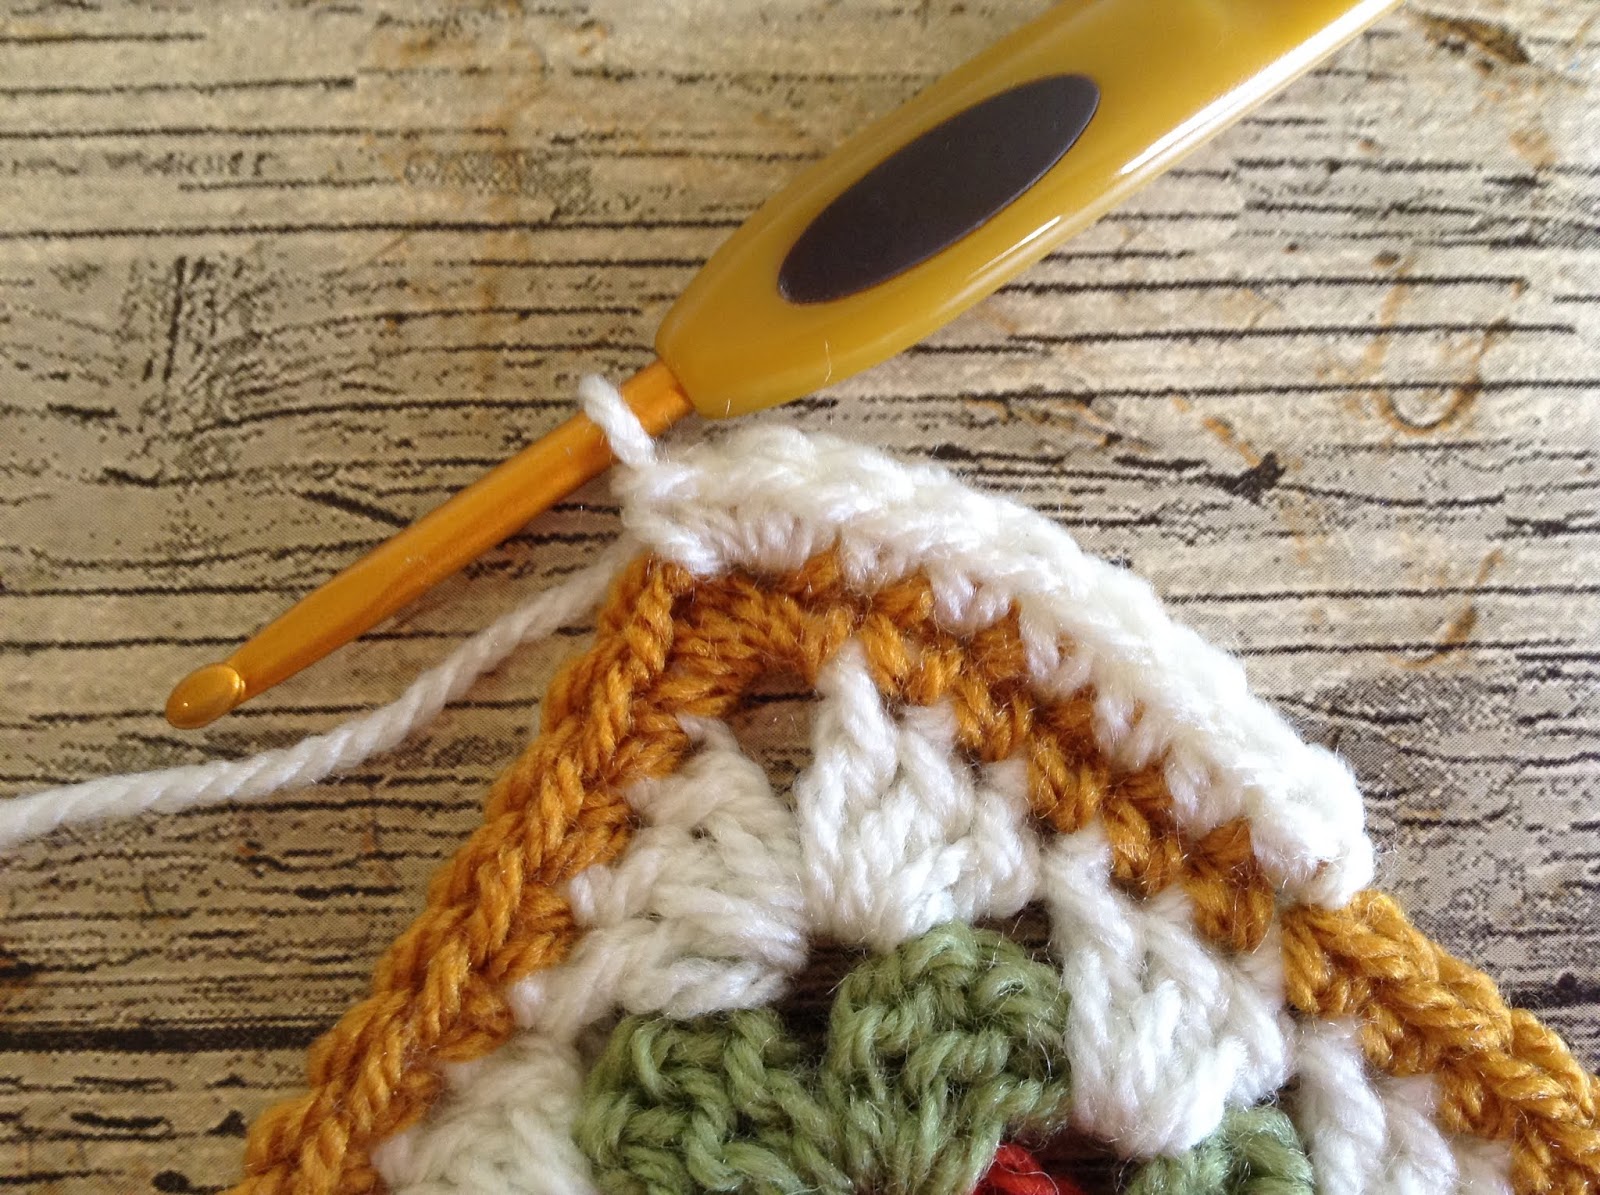
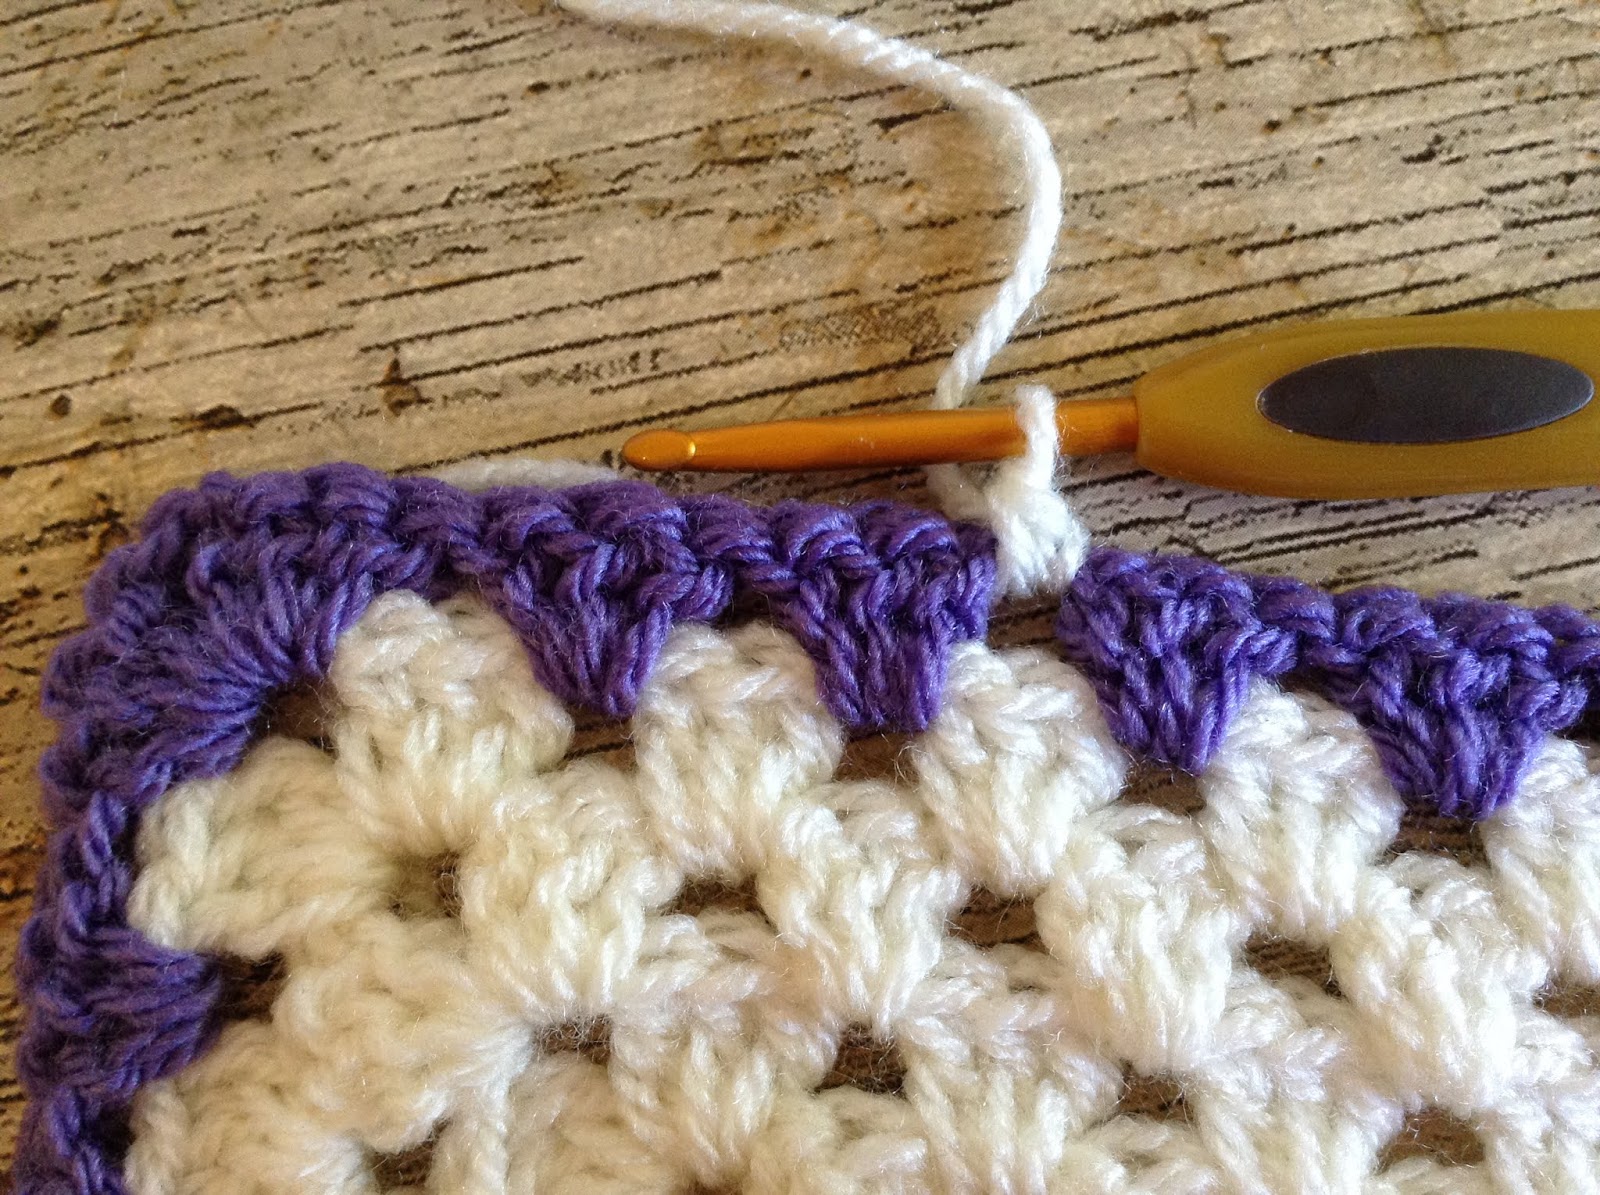
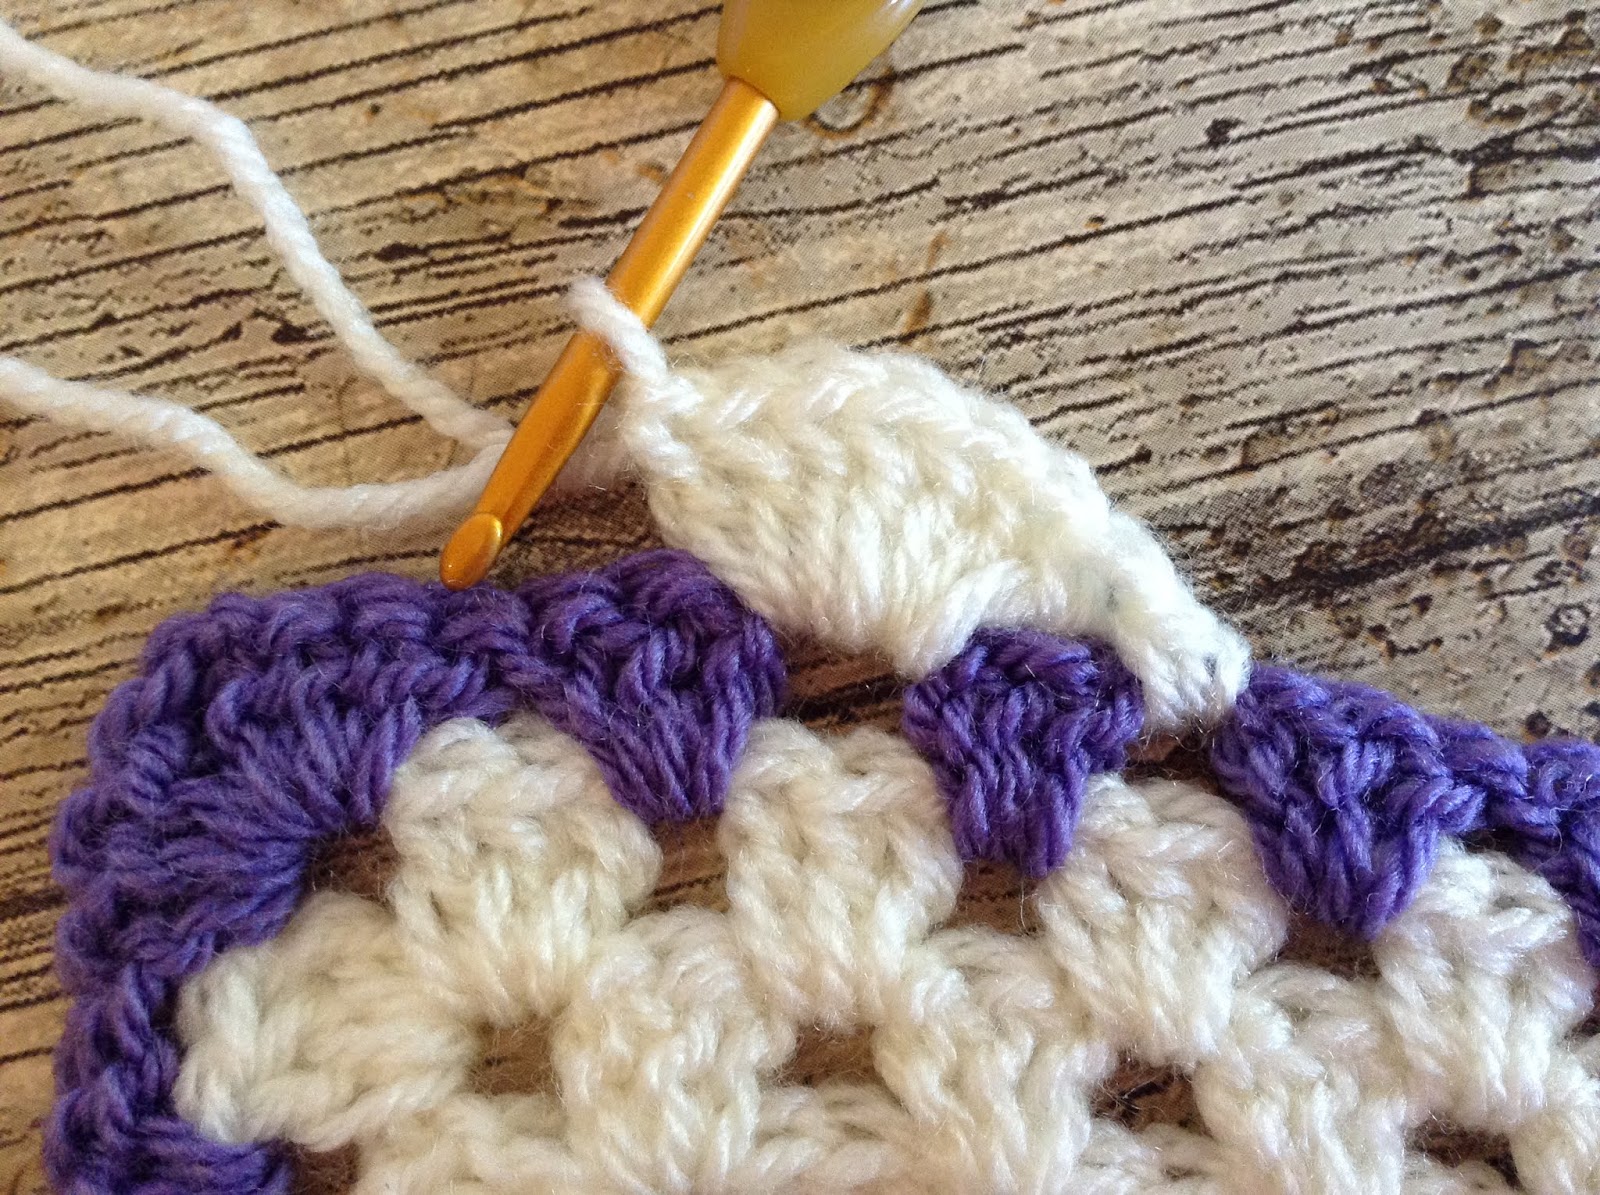
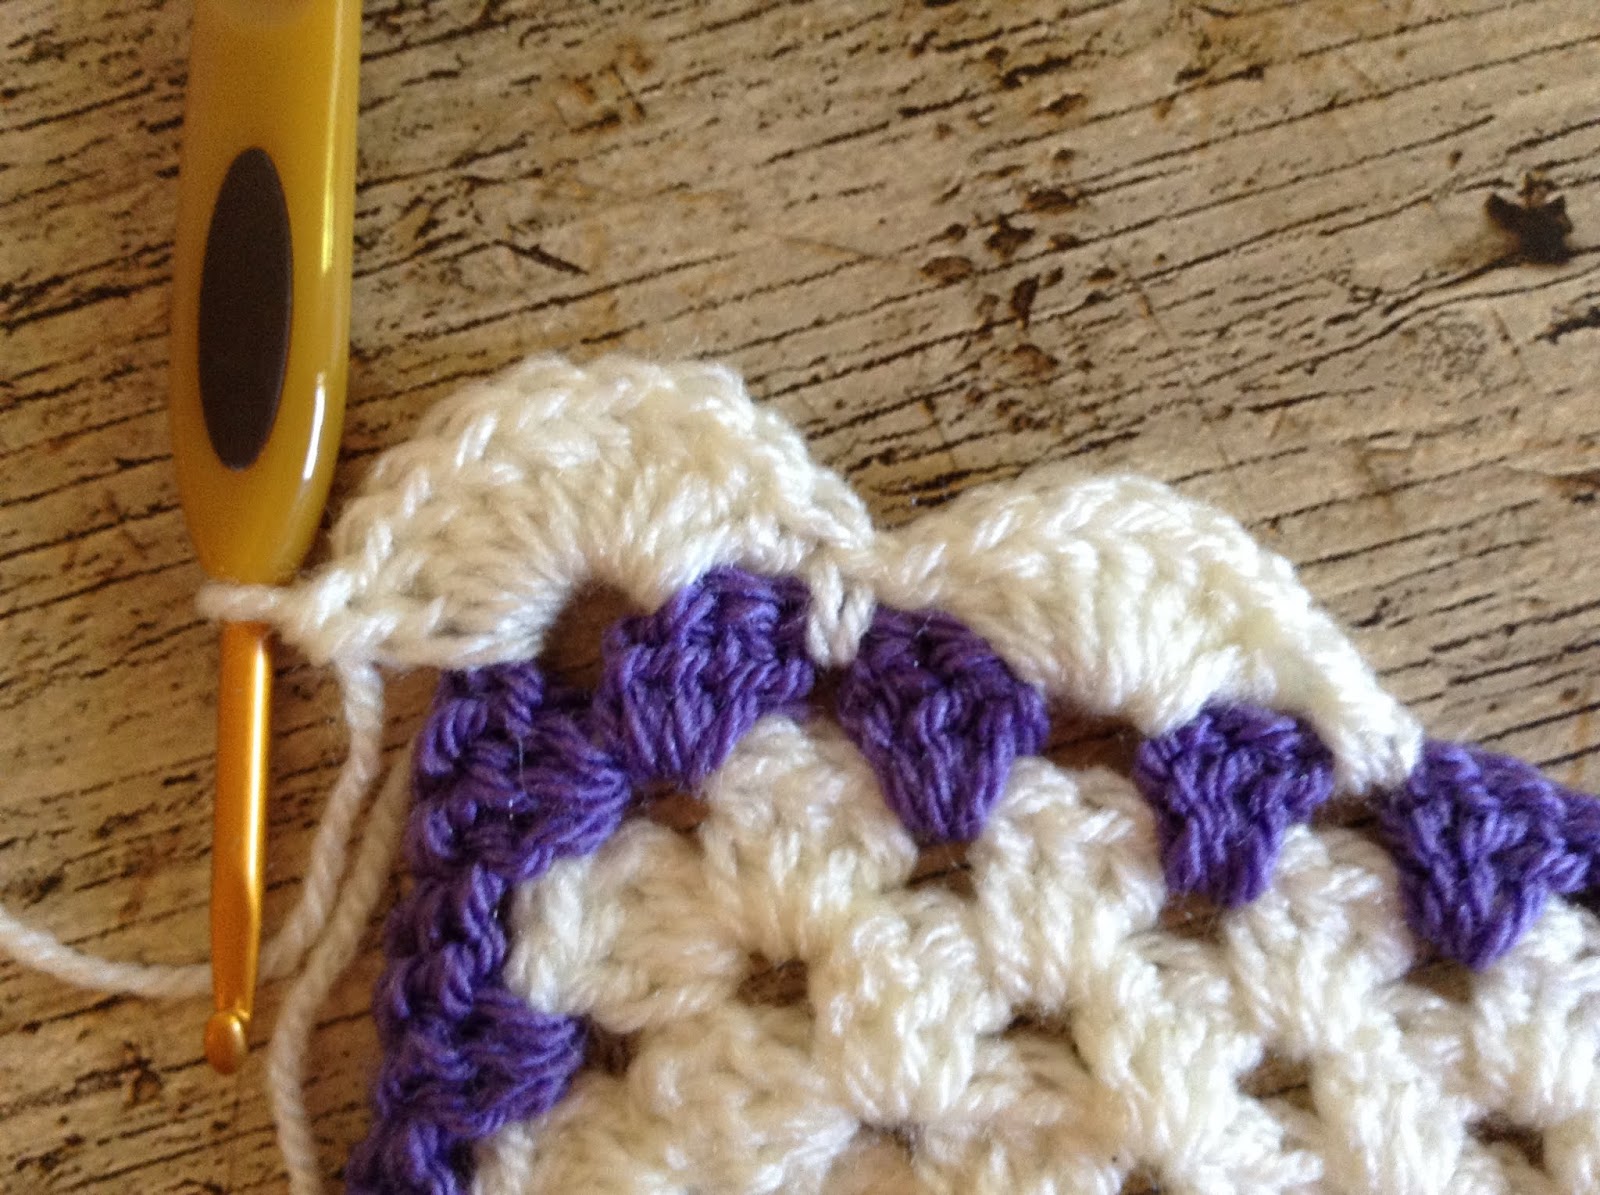
Now turn your blanket over and work from the wrong side, dc in the first stitch and...
sl st in the next stitch
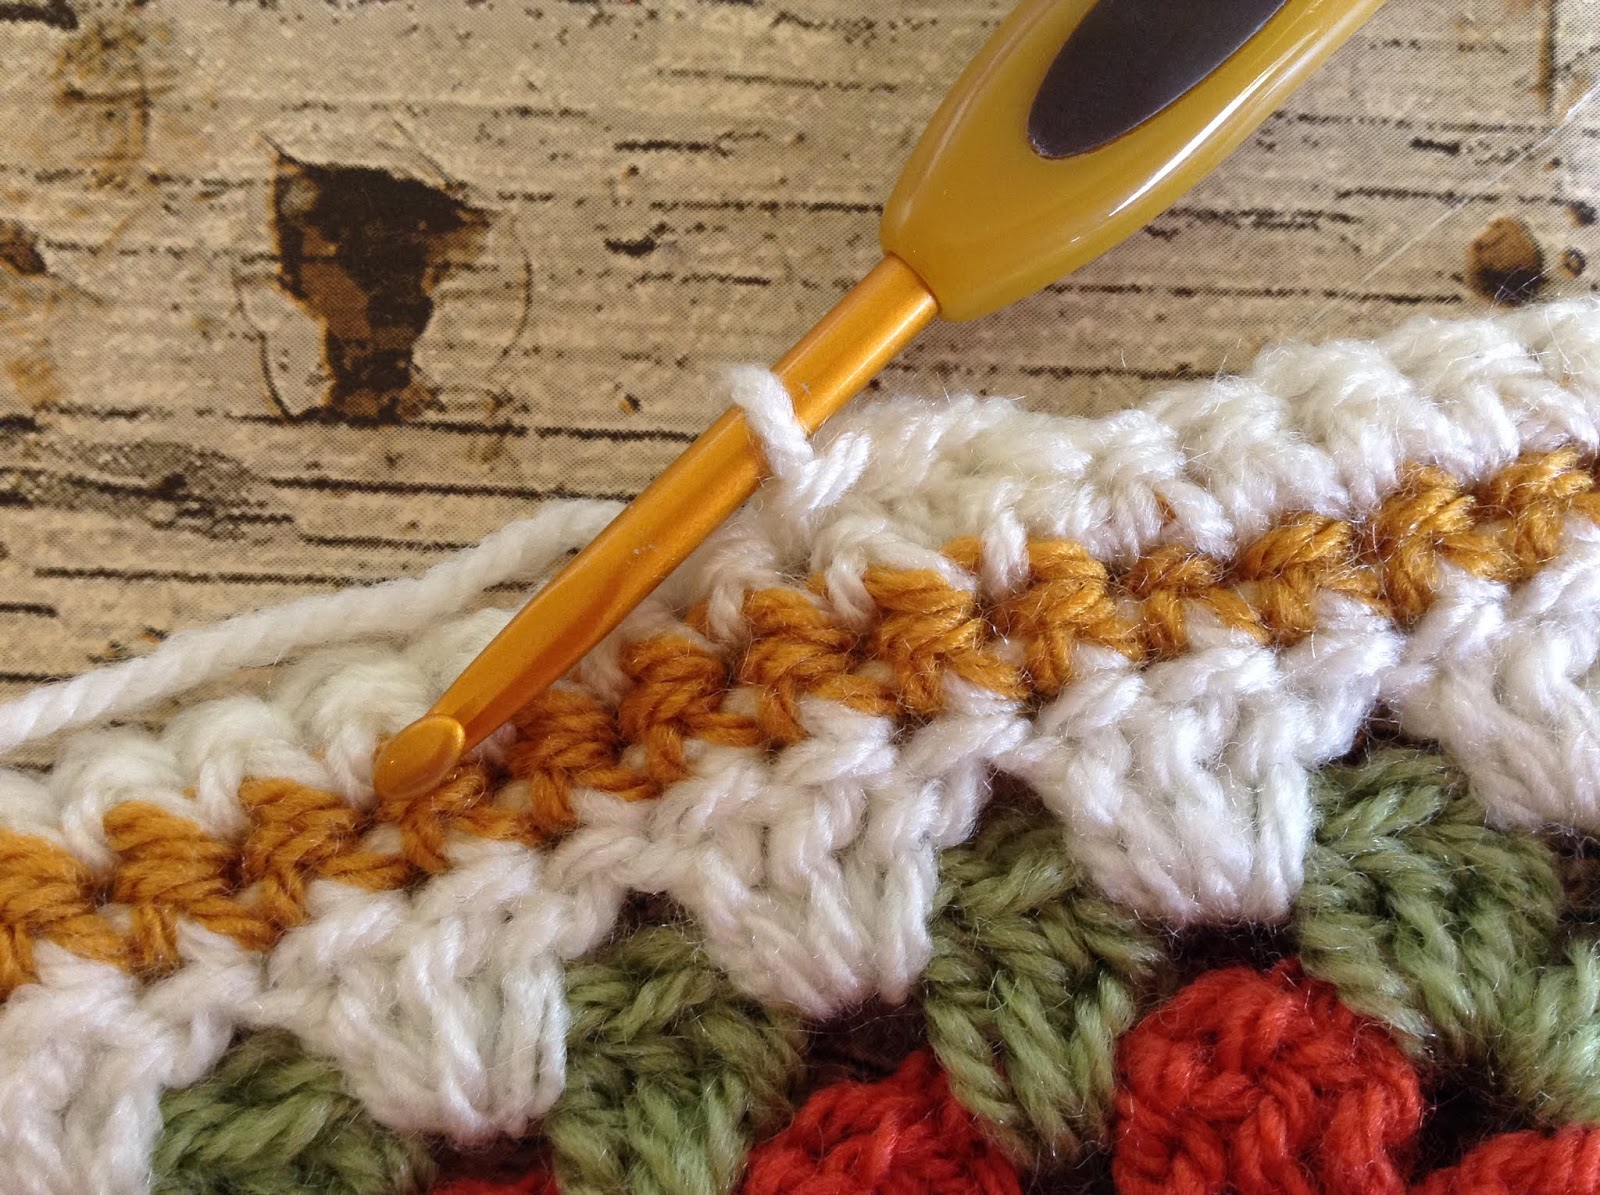
Repeat these 2 stitches around your blanket and join with a sl st to starting stitch.
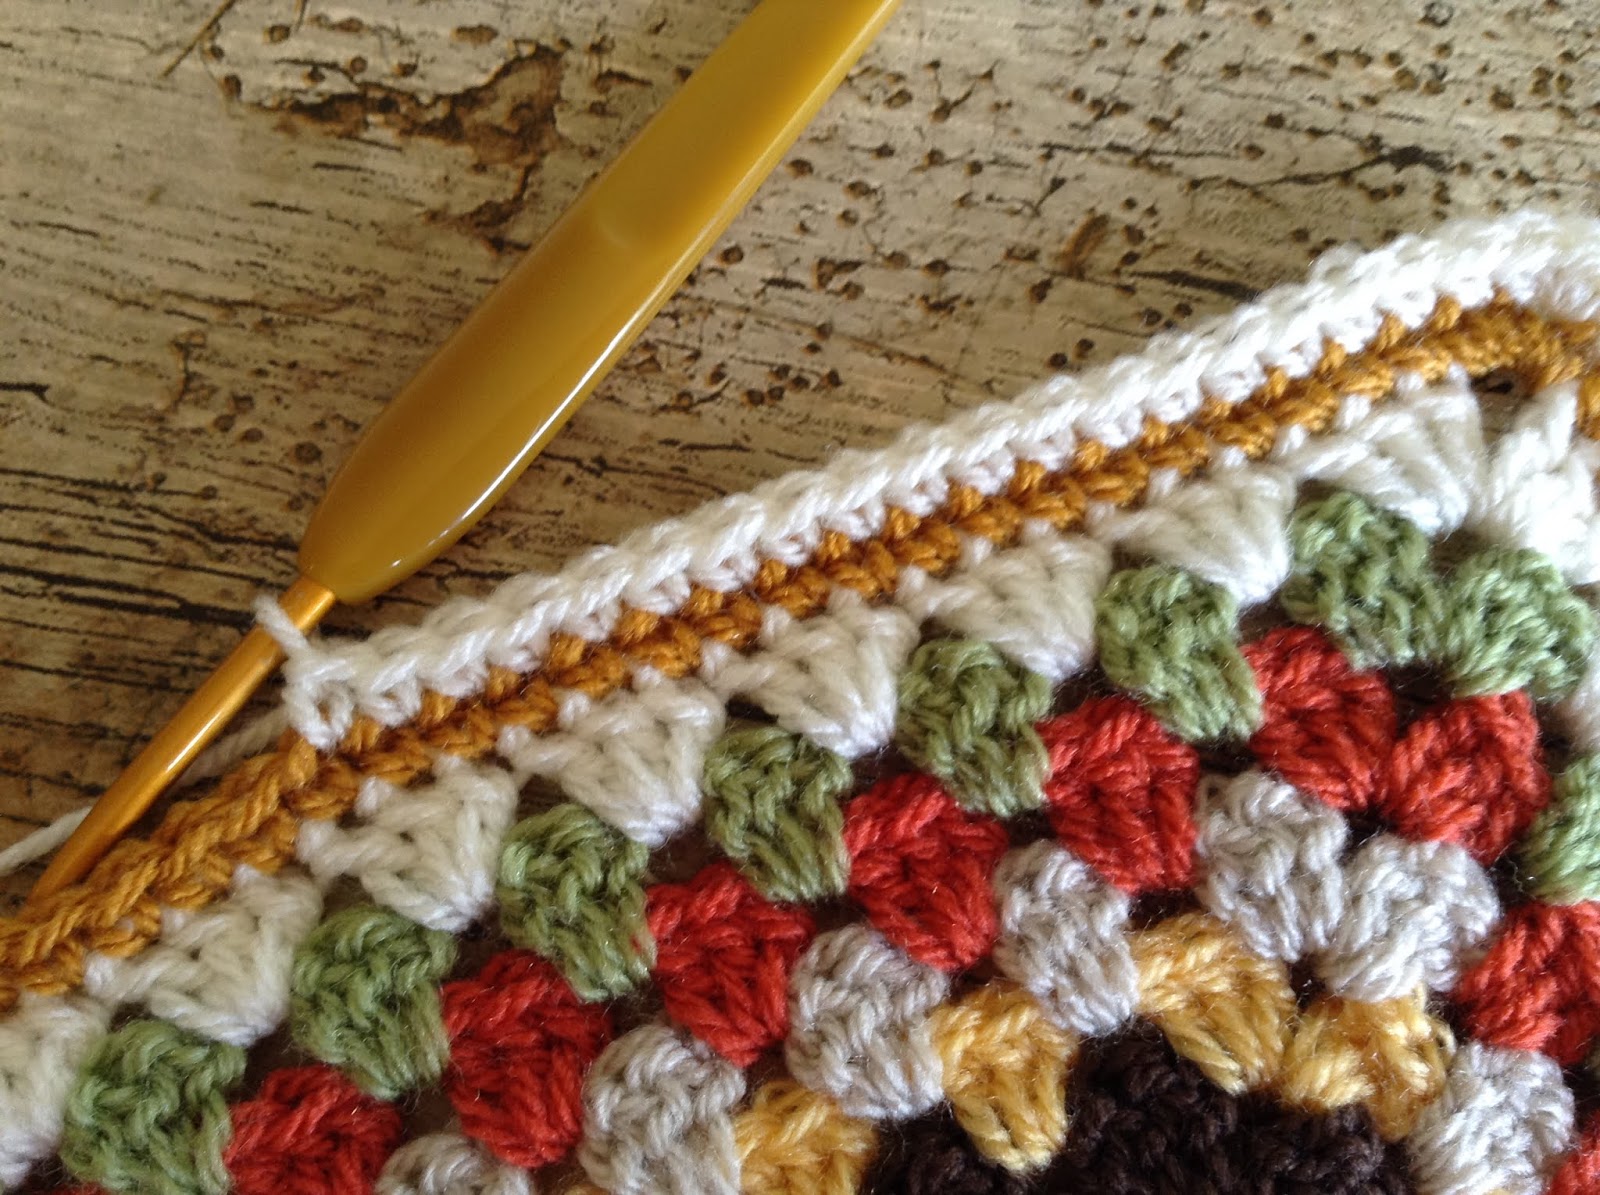
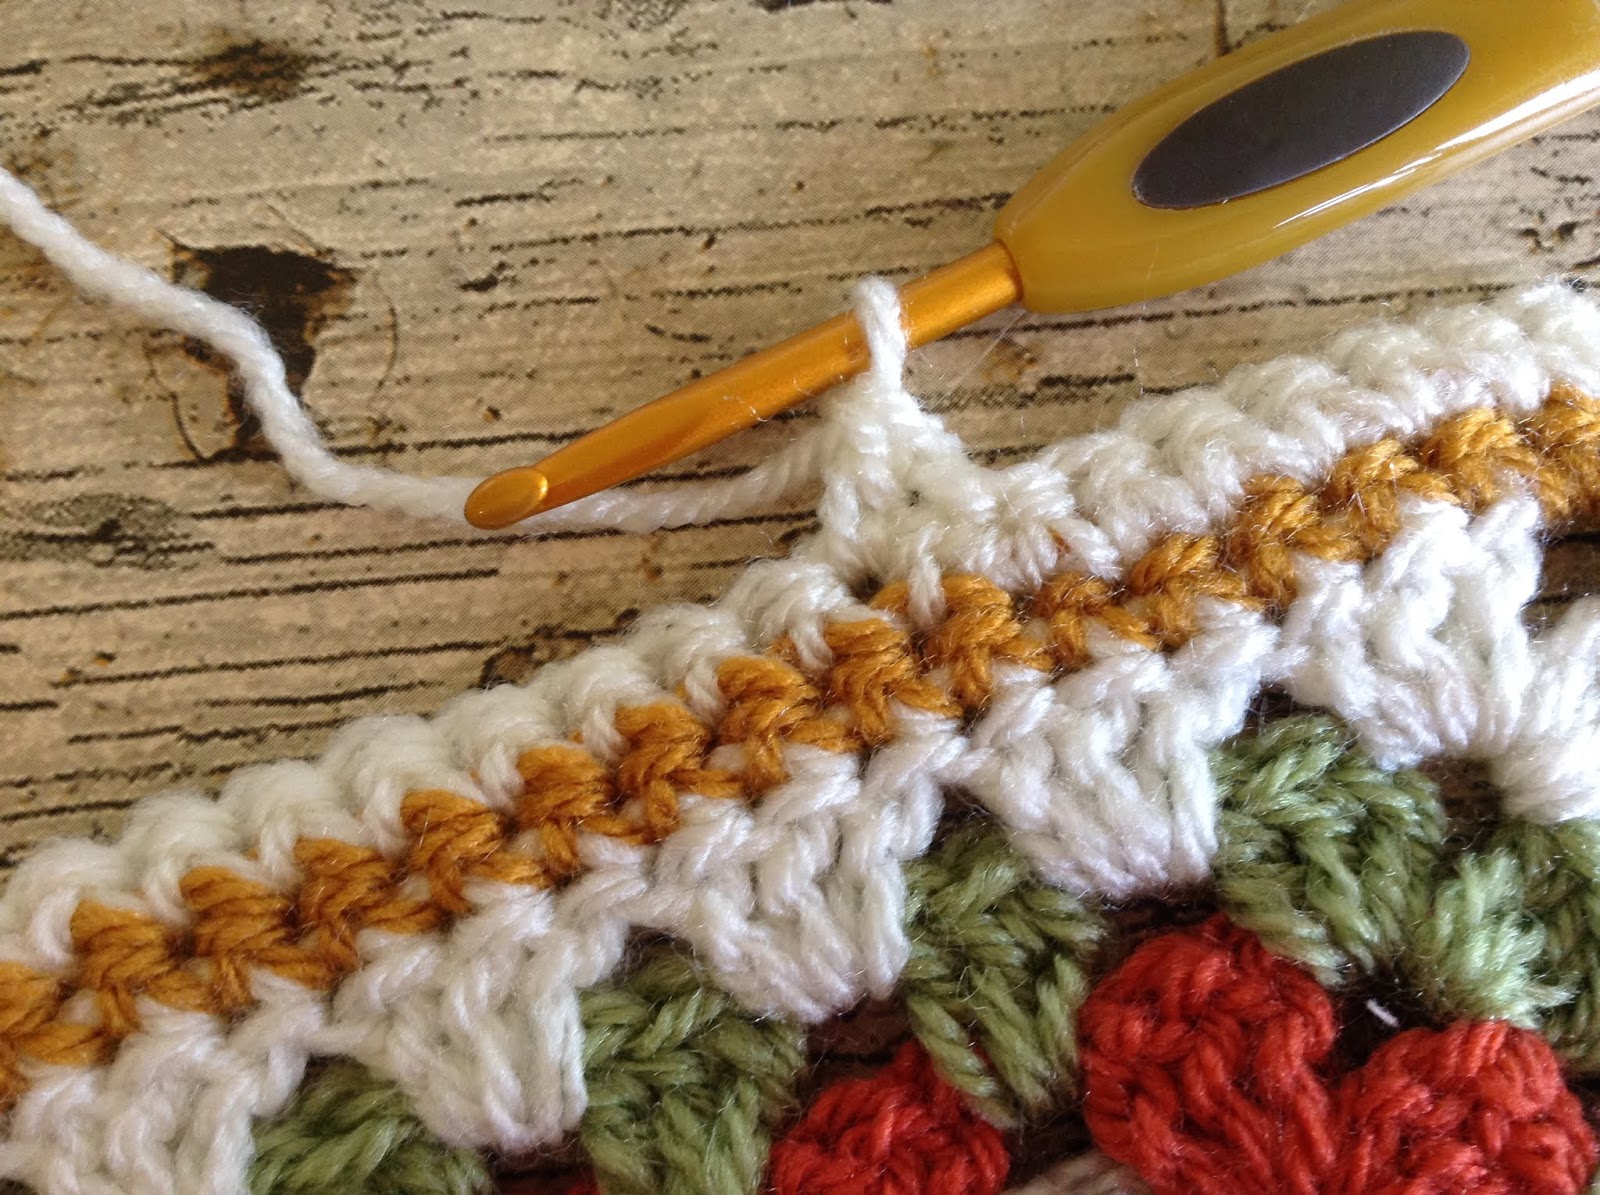
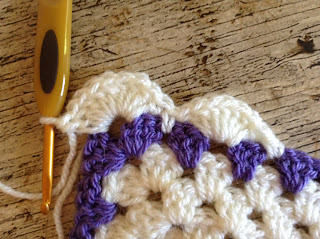
This is how it looks from the front
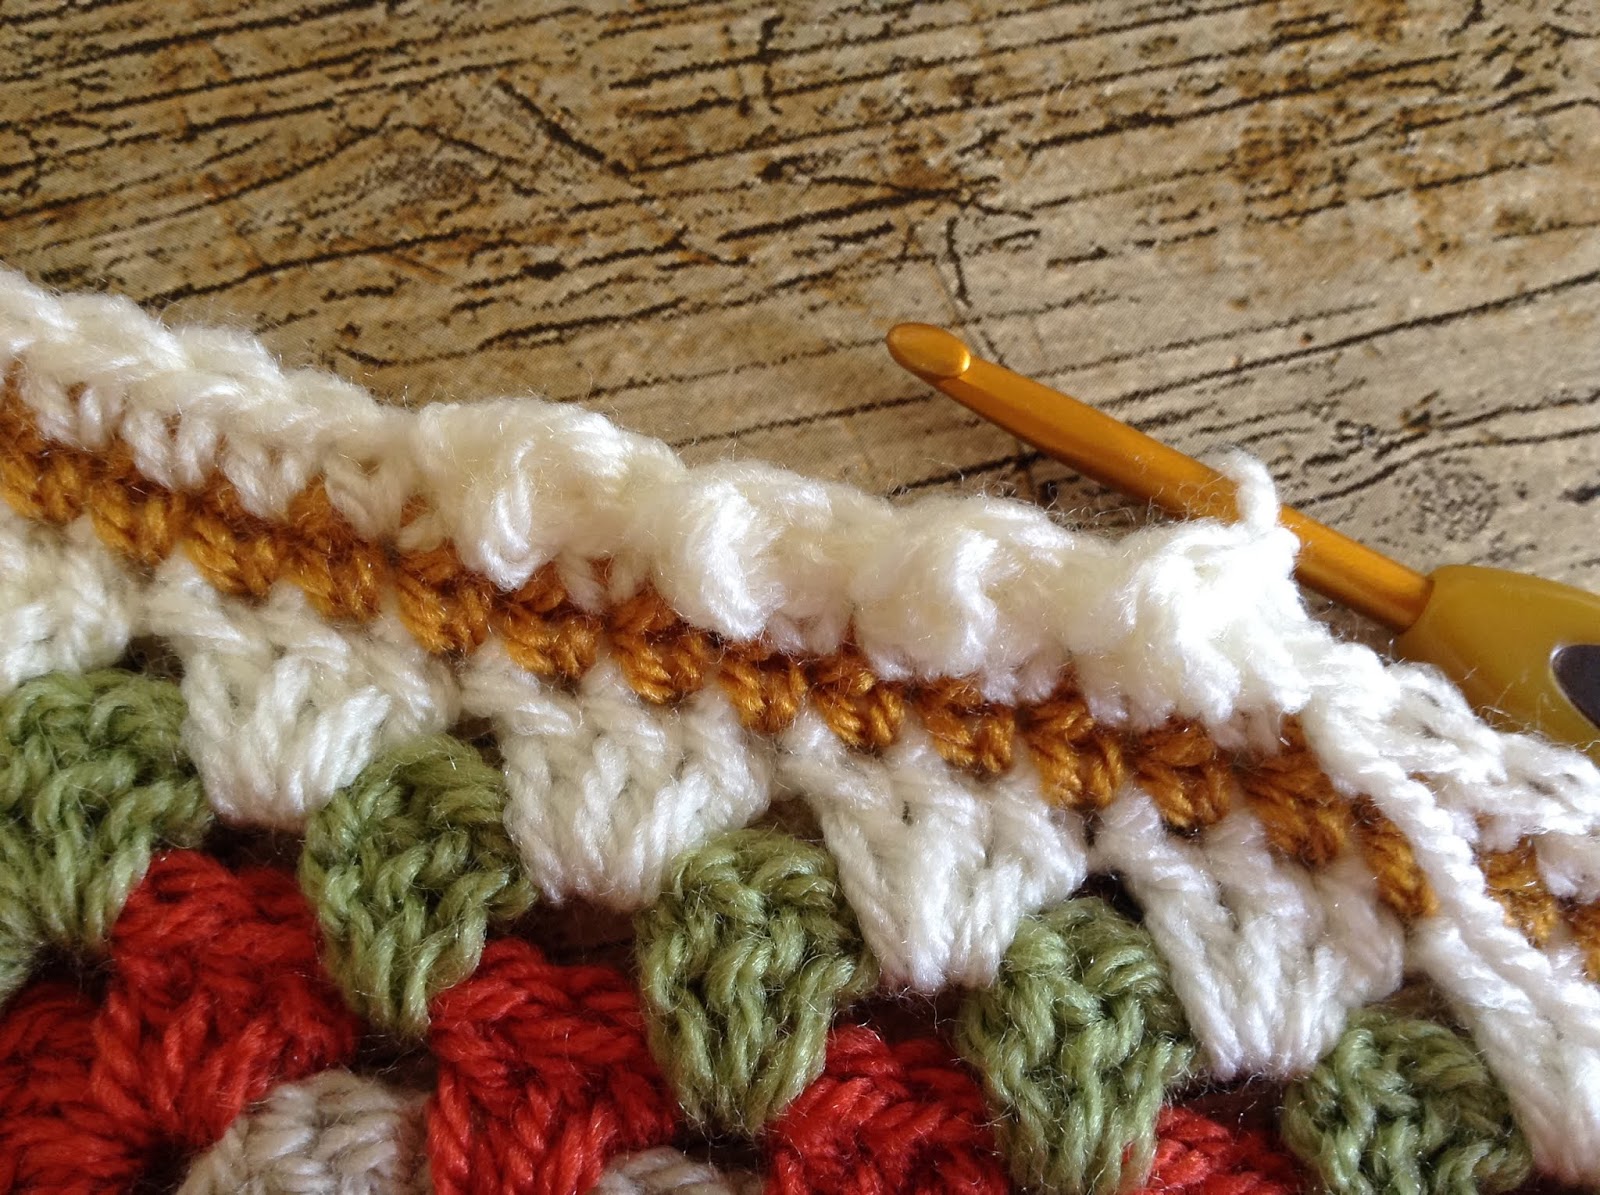
The effect reminds me of icing piped around a cake, so cute!

I hope you enjoyed this tutorial and don't forget to share your photo on the Facebook group page.
Take care
Catherine
x
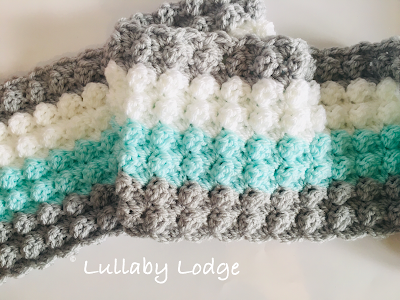
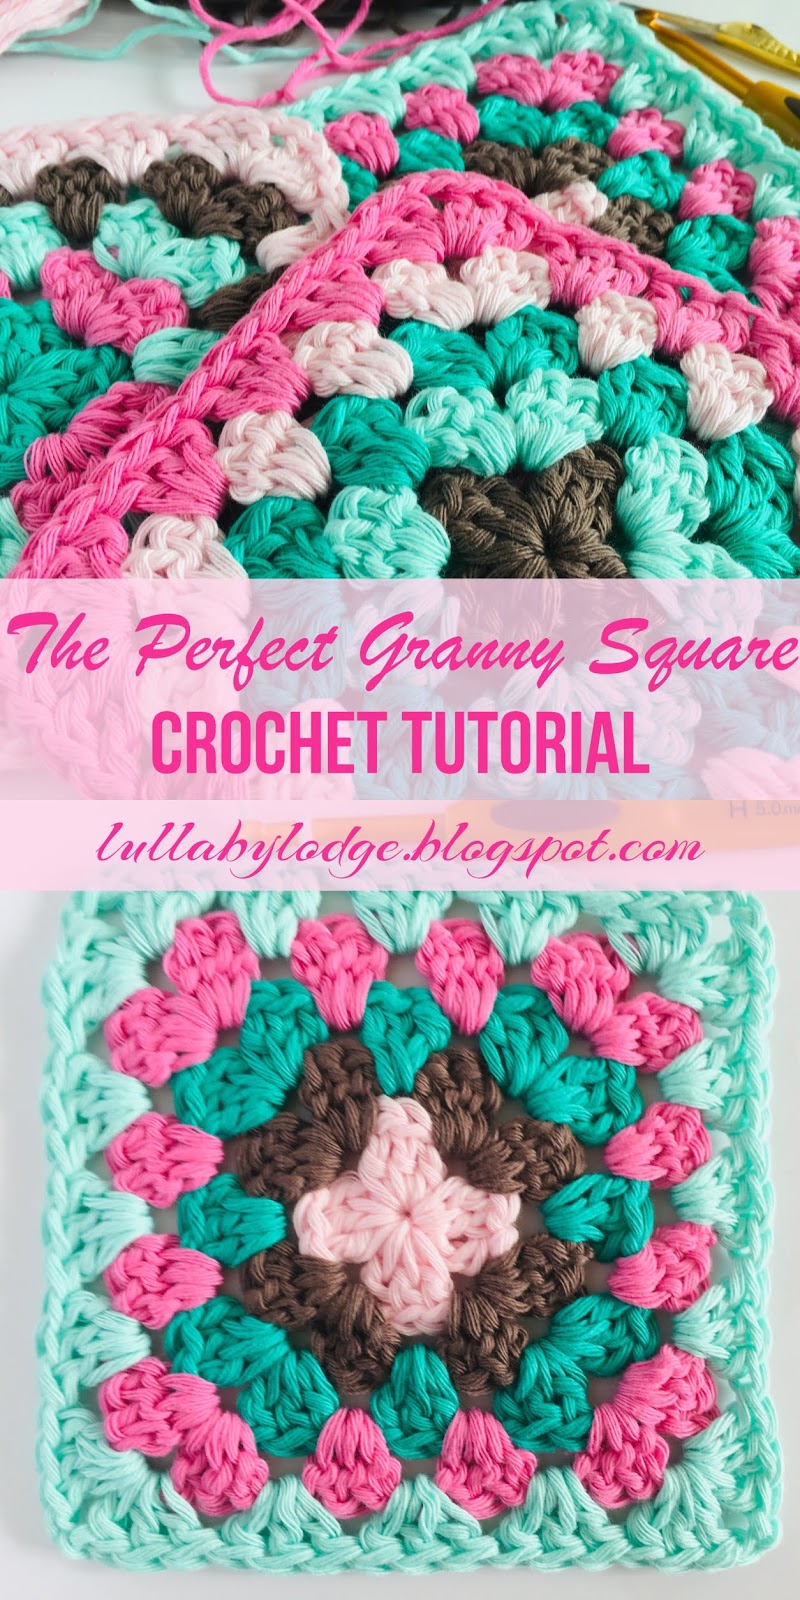
You might enjoy...
This post contains Amazon affiliate links...


